
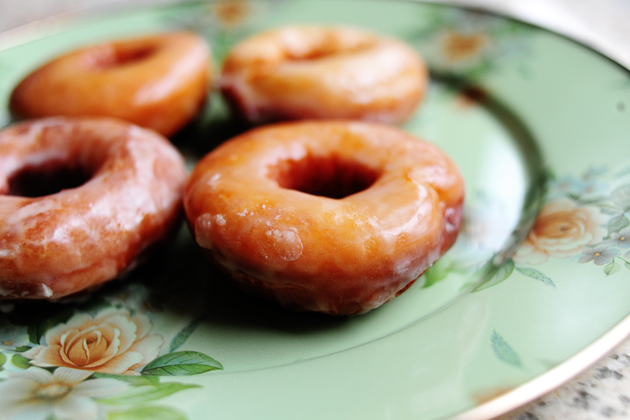
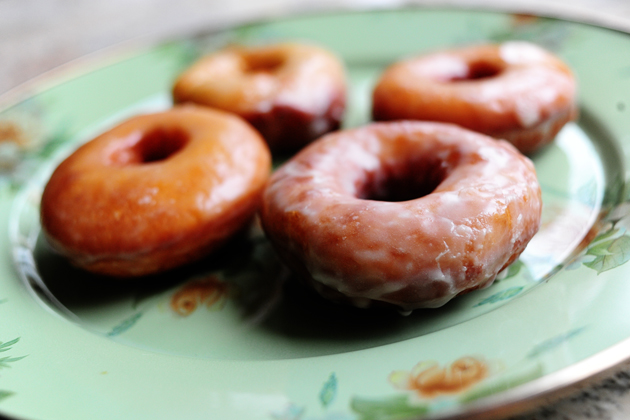
Yum. Doughnuts!

Keep in mind that this might take a time or two of making them before the process feels totally comfortable. I tried to keep the instructions below as specific and precise as I could. The printable recipe at the bottom of the page has numeric instructions so as to leave no doubt. But yeast, as we all know, can have a mind of its own sometimes—so can the weather, with its humidity or dryness. So if at first you don’t fricassee, fry fry a hen…okay?
But do give them a try sometime. Doughnuts are fun to make!
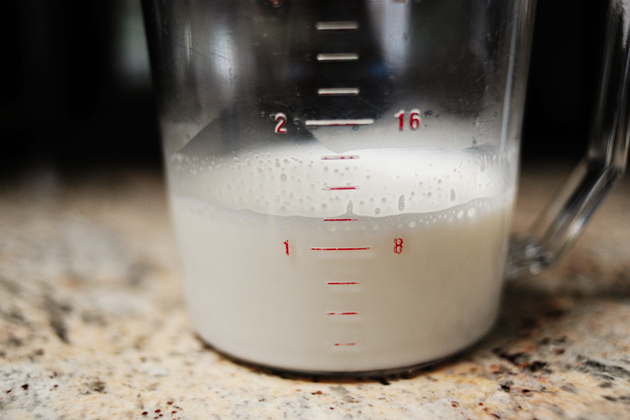
Warm up the milk so that it’s warm to the touch, but not hot. If you have a thermometer, make sure the milk is between 105 and 115 degrees F. I usually err on the side of too warm, but that can be a little dangerous.


But I can’t let myself go there. That’s more dangerous than a doughnut.
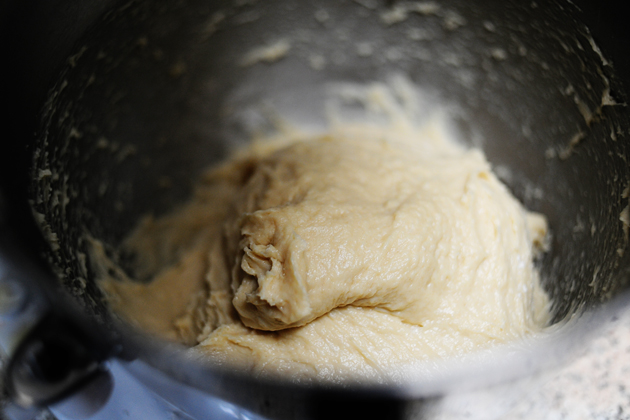
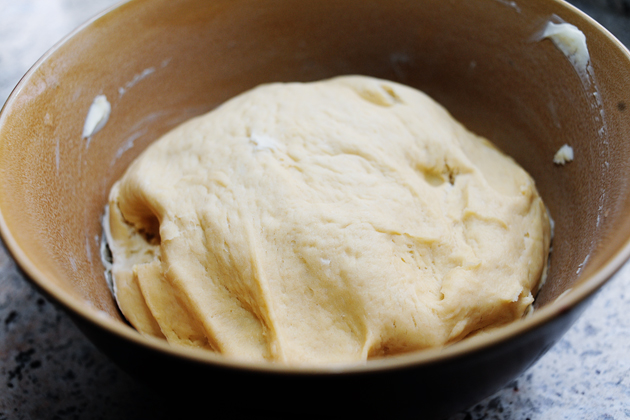
And THAT’S IT for the dough. All you do now is put the dough into a lightly greased (with a little canola oil or butter) bowl, toss it around to coat the surface of the dough, then cover with plastic wrap (not foil; important!) and keep in the refrigerator for several hours or overnight.


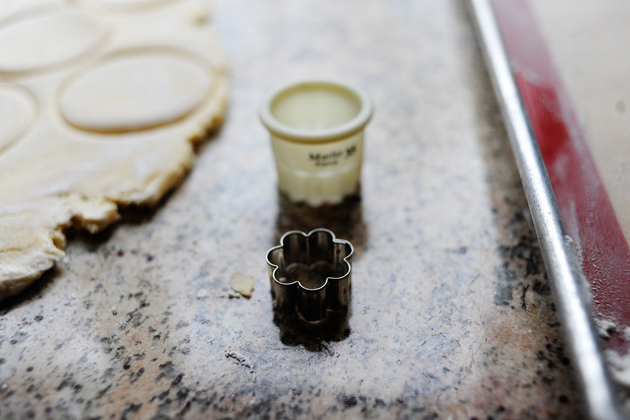
My boys, not the cutters.
**I’m missing a couple of sequence shots here because…well, because I’m a freak, but basically here’s what went on:
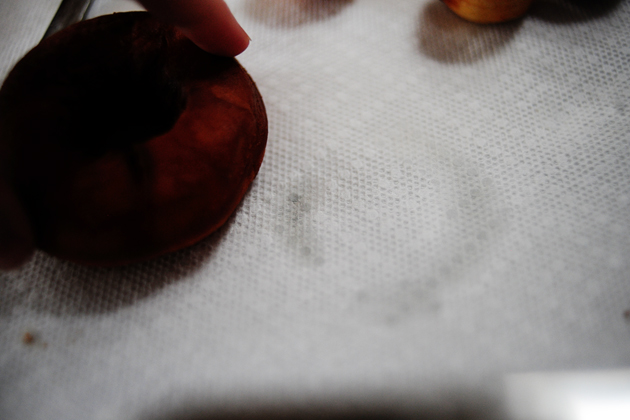
1. Cut a center hole in the larger rounds using a 1 to 1.5-inch cutter.
2. Transfer the doughnuts and the doughnut holes to the floured baking sheet
3. Repeat with the dough scraps until all/most of the dough has been used.
4. Cover the doughnuts and holes with a large tea towel and LET RISE IN A WARM PLACE FOR AN HOUR-PLUS.
IMPORTANT
I can not emphasize enough the importance of providing the doughnuts with a warm, draft free place to rise. The dough has started out cold, so you really need to aggressively make sure they have the proper environment for rising. My kitchen is extremely drafty—I have four large windows that have seen better days—so I have to go on the offense by heating up my large griddle, then turning it off, then placing my pans of doughnuts on the warm griddle. Now, you don’t want the pan on which the doughnuts are sitting to actually heat up at all—that would mess up the bottoms of the doughnuts. But you do need to really create a warm environment so the doughnuts will rise adequately. How much the doughnuts rise over the next hour is directly related to how light and fluffy they’ll be…so do what you can!
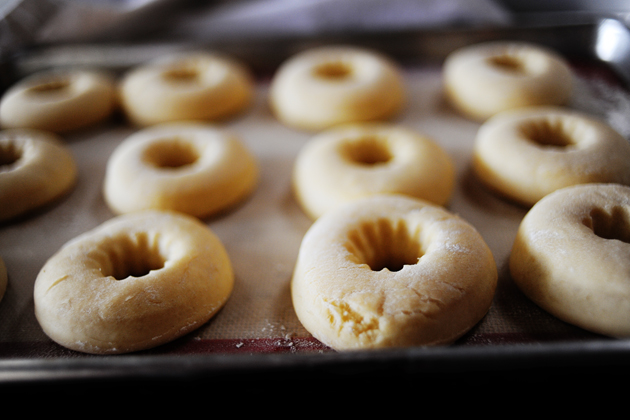
Compare the difference:

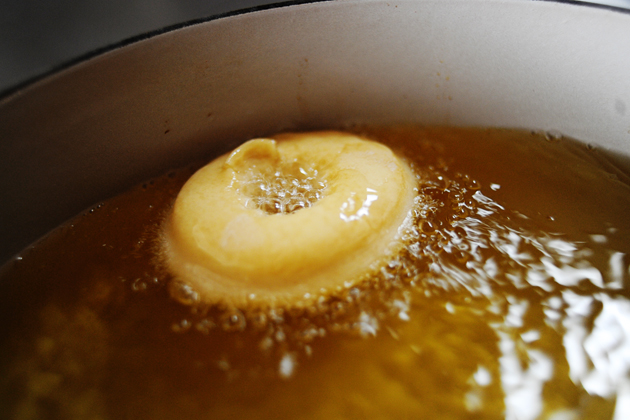
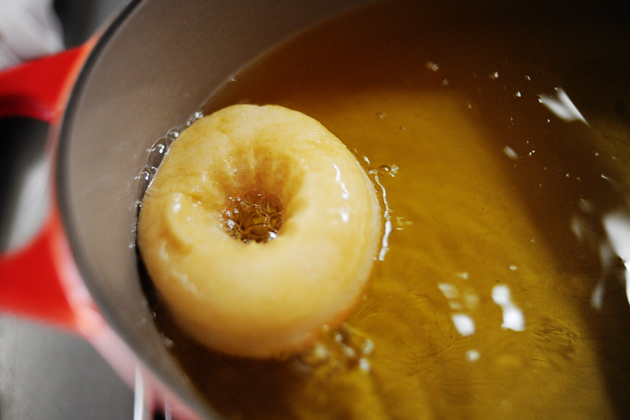
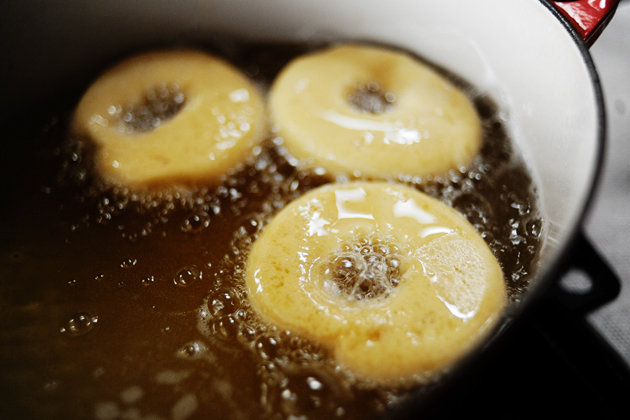
Ideally, the oil will remain between 375 and 380, 380 being a little on the hot side.
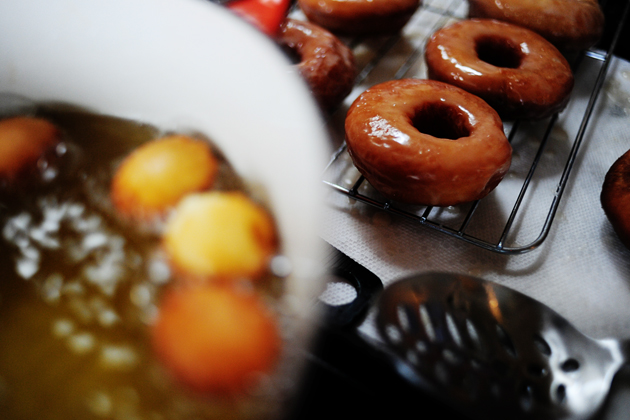
NEXT: Make a nice, big bed of several paper towels stacked on top of one another. We’ll need to use these to quickly absorb the oil after we cook the doughnuts.

I’m bossy when it comes to doughnuts. I should go into business with our doughnut guy in town. I think we’d be very happy together.
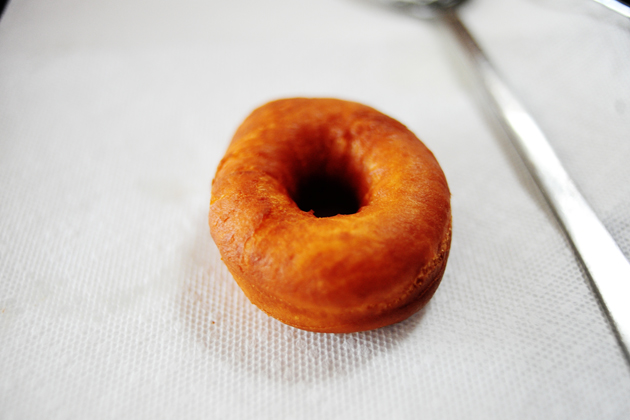
Drain them on the paper towels immediately after removing them from the oil.


And your doctor.
Enjoy these!
Recipe: Homemade Glazed Doughnuts
|
|
|

Ingredients
- Doughnuts
- 1-1/8 cup Whole Milk, Warm
- 1/4 cup Sugar
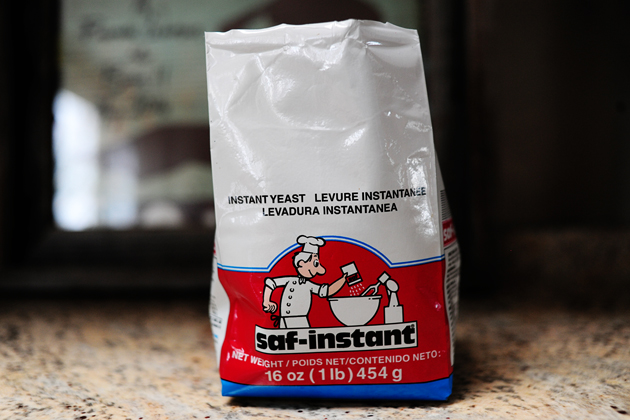
- 2-1/4 teaspoons (one Package) Instant Or Active Dry Yeast
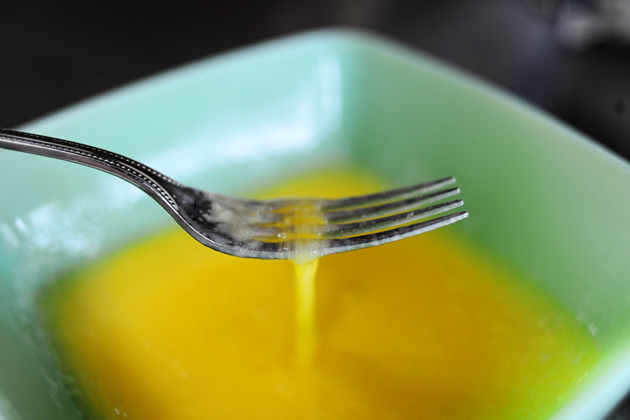
- 2 whole Large Eggs, Beaten
- 1-1/4 stick Unsalted Butter, melted
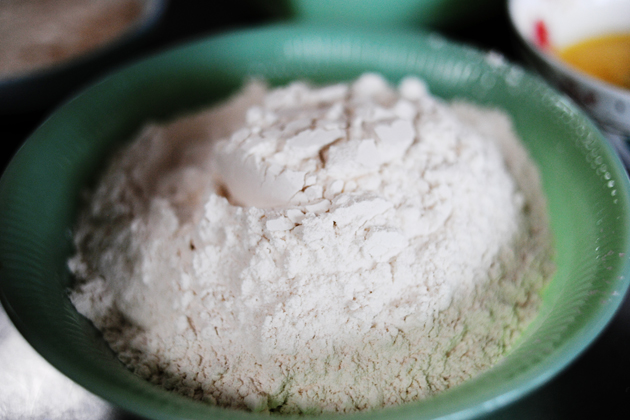
- 4 cups All-purpose Flour
- 1/4 teaspoon Salt
- Shortening
- GLAZE
- 3 cups Powdered Sugar
- 1/2 teaspoon Salt
- 1/2 teaspoon Vanilla
- 1/2 cup Cold Water Or Milk
Preparation Instructions
To Make the Dough:
1. Make sure milk is nice and warm, but not overly hot.
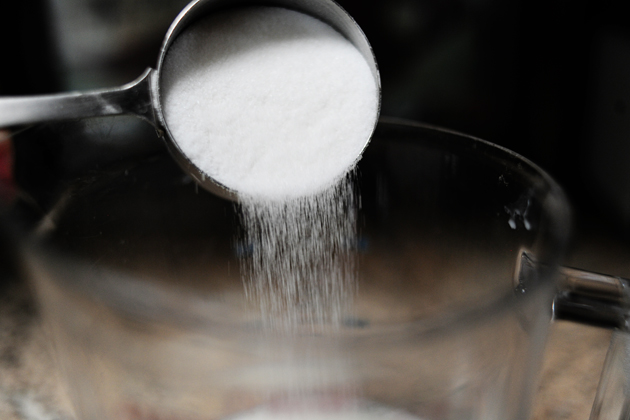
2. Add sugar to milk. Stir to dissolve.
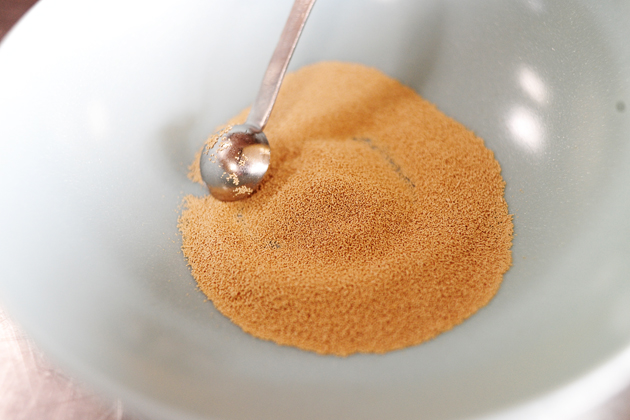
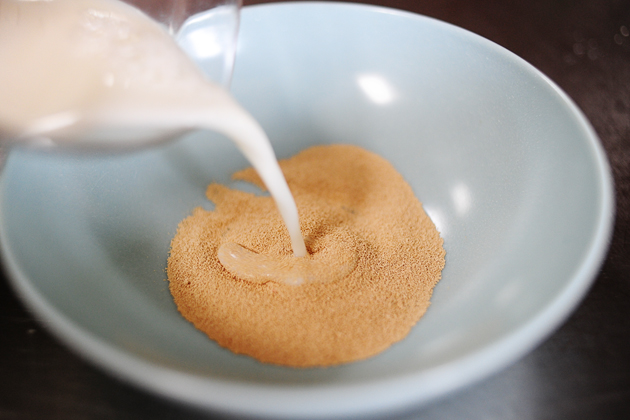
3. Add yeast into a small bowl.
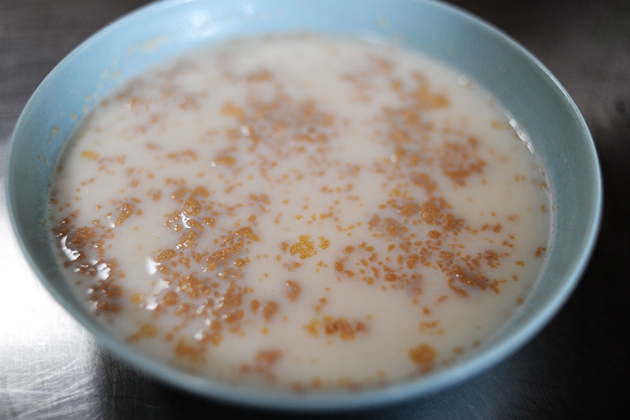
4. Pour milk/sugar mixture over yeast. Stir gently, then let sit for 10 minutes.
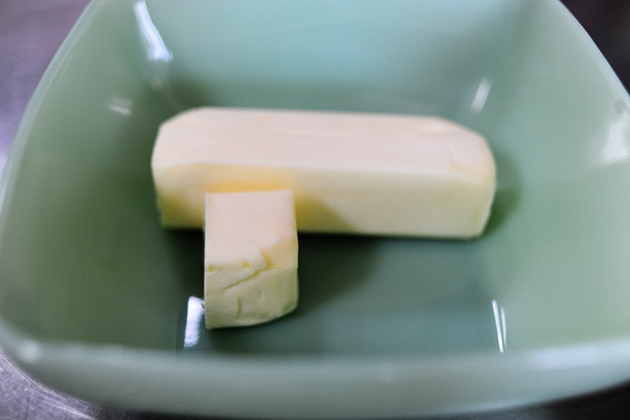
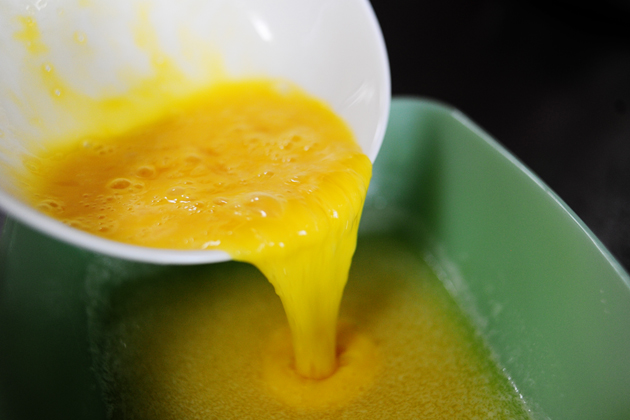
5. Melt butter in separate bowl until butter is almost melted. Stir to finish melting so butter won't be overly hot.
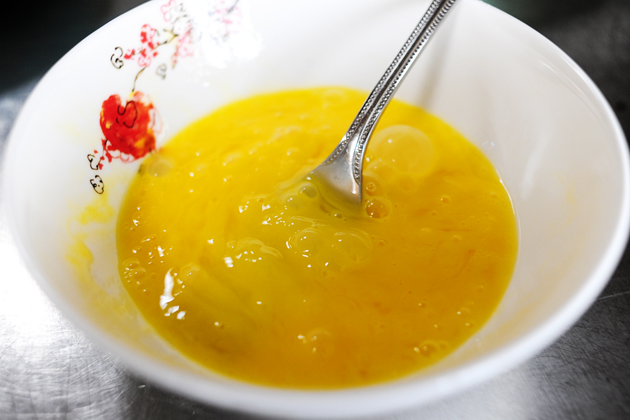
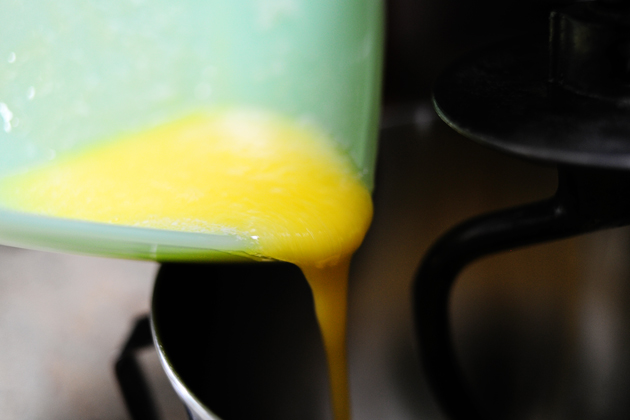
6. Add beaten eggs to melted butter, stirring constantly to make sure the butter's not too hot for the eggs.
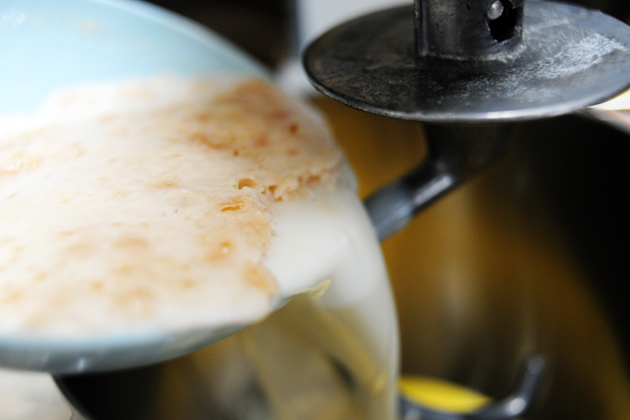
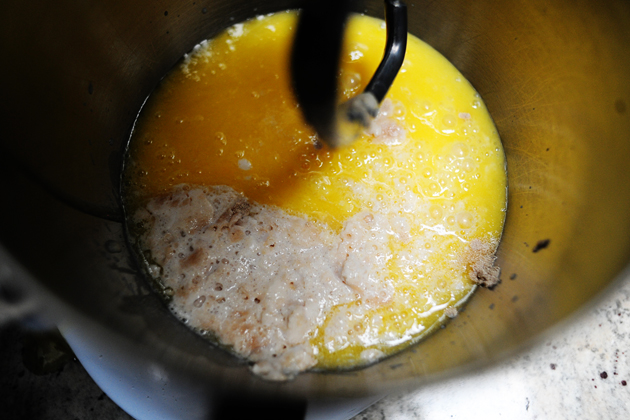
7. Add the egg/butter mixture to the bowl of an electric mixer fitted with the dough hook.
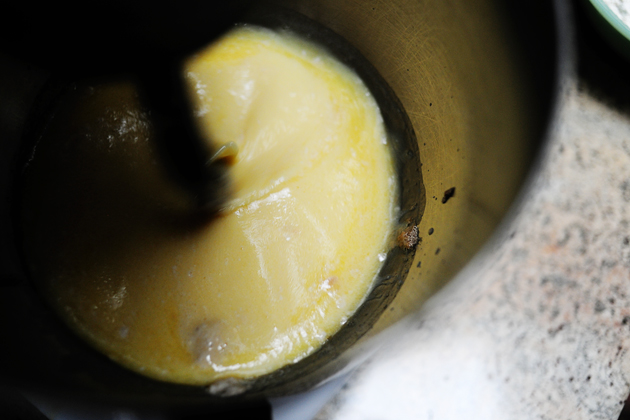
8. With the mixer on 3 or medium-low speed, pour in the yeast mixture.
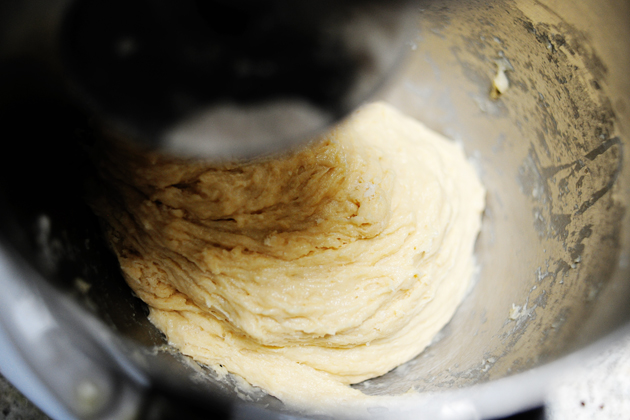
9. Allow the dough hook to stir this mixture for a couple of minutes, making sure it's thoroughly combined.
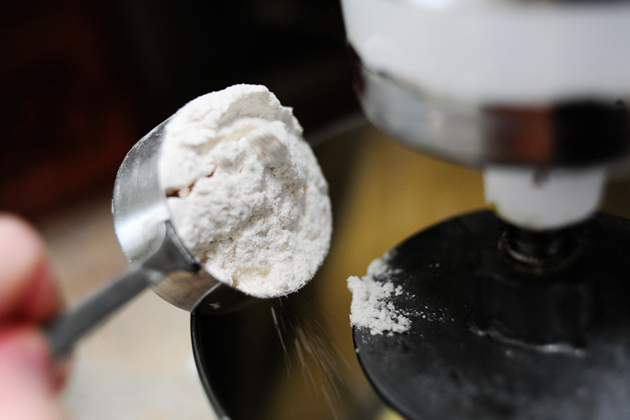
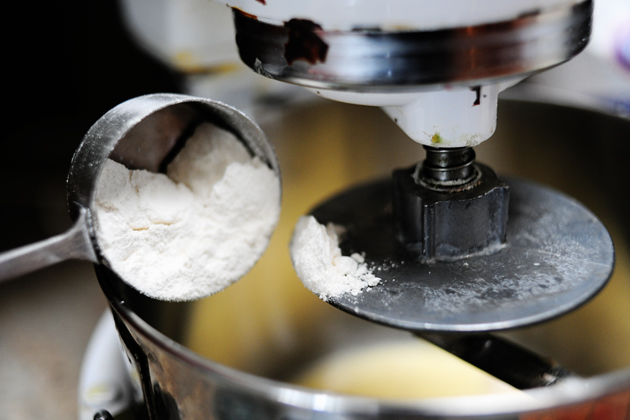
10. With the mixer still going, add helpings of the flour mixture in 1/4 to 1/2 cup increments until all the flour is gone.
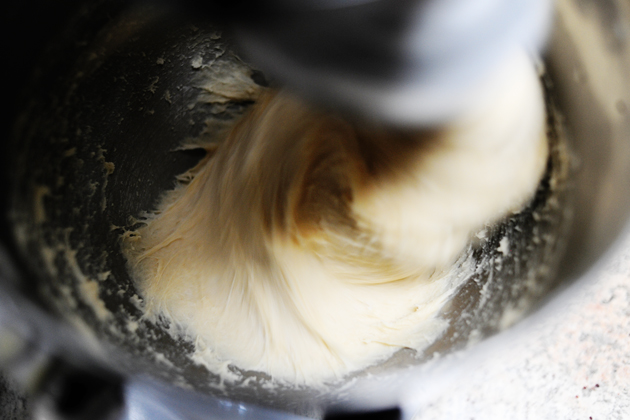
11. Stop the mixer, scrape the bowl, then turn the mixer on the same speed for five whole minutes.
12. After five minutes, stop the mixer and scrape the bottom of the bowl.
13. Turn on the mixer for 30 seconds.
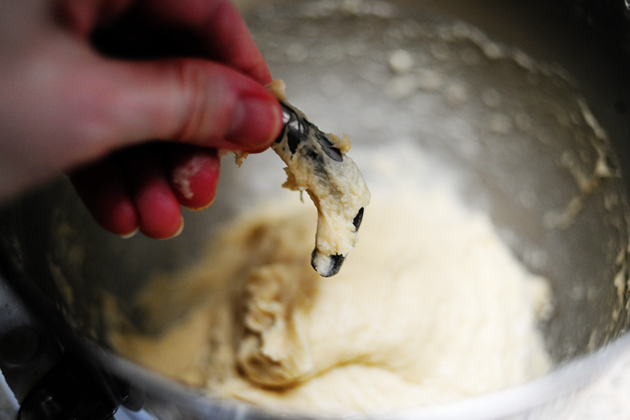
14. Turn off the mixer and allow the dough to sit in the bowl undisturbed for 10 minutes.
15. After 10 minutes, transfer dough to a lightly oiled bowl. Toss the dough to coat, then cover the bowl with plastic wrap and place straight in the fridge.
16. Refrigerate dough for at least 8 hours, or overnight.
To Make the Doughnuts:
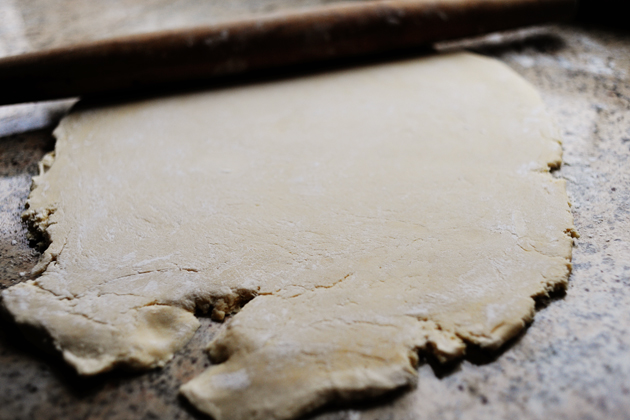
1. Remove bowl from fridge and turn out dough onto a lightly floured surface.
2. Roll out to 1/4 to 1/3-inch thickness.
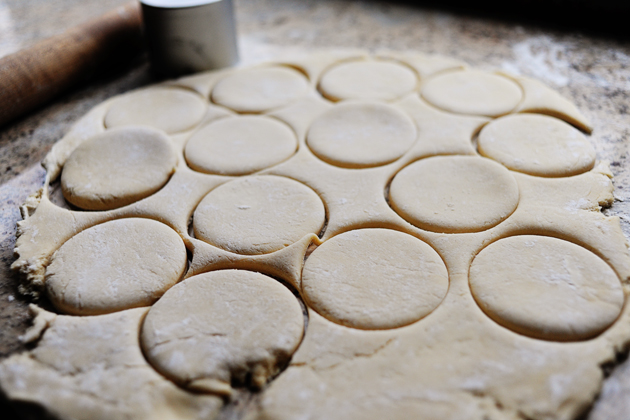
3. Using a 3-inch cutter, cut as many rounds as you can, then roll out remaining dough and cut as much as you can, etc.
4. Cut holes out of each round using a 1 1/2-inch cutter.
5. Place both doughnuts and holes on a floured baking sheet.
6. Cover with large tea towel and place in a warm place in your kitchen; my kitchen is very drafty, so I have to briefly warm the griddle, then turn it off and set the sheets on top to keep warm.
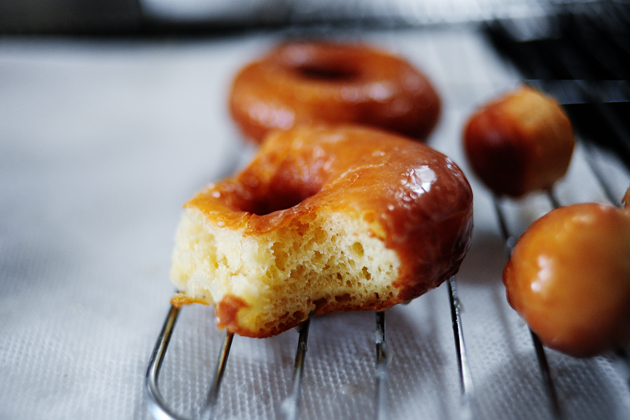
7. Allow doughnuts to rise undisturbed for at least 1 hour; 1 hour 15 minutes if necessary. Doughuts should be visibly puffier and appear to be airy.
To Fry the Dougnuts
1. Heat plenty of vegetable shortening in a large pot until the temperature reaches 375 to 380 degrees---do not let it get hotter than 380 degrees! 375 is ideal; keep the thermometer in the pan to continually monitor.
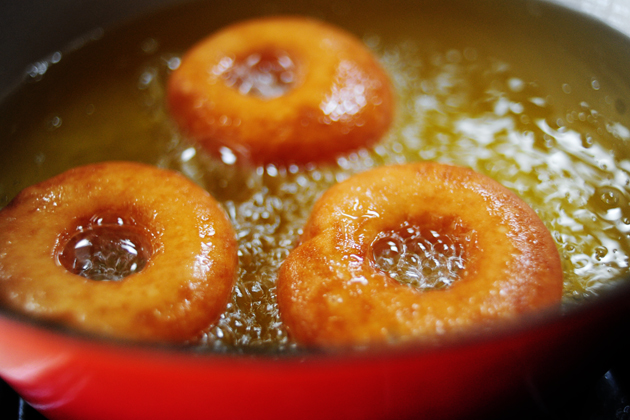
2. One to two at a time, gently grab doughnuts and ease them into the hot oil. Allow them to cook 1 minute on each side; they will brown very quickly.
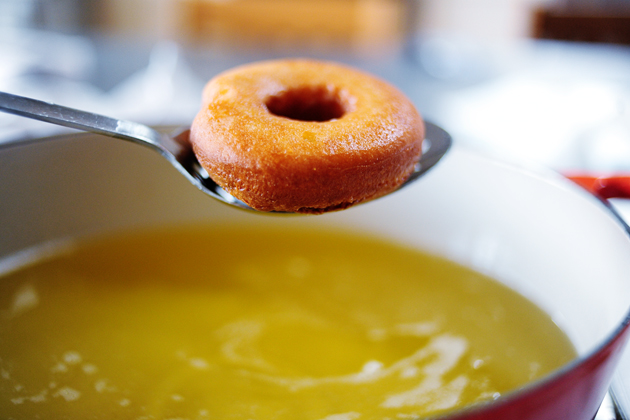
3. Remove doughnuts from the oil with a slotted spoon, allowing all oil to drip off.
4. Place doughnut immediately on several layers of paper towels. Count to five, then flip it over onto a clean part of the paper towels. Count to five, then flip it over again; the purpose, obviously, is to drain as much grease as possible before it soaks into the doughnut.
5. Repeat with remaining doughnuts and holes. The holes will cook more quickly than the doughnuts; about 30 seconds per side.
6. Allow doughnuts to slightly cool.
To Glaze
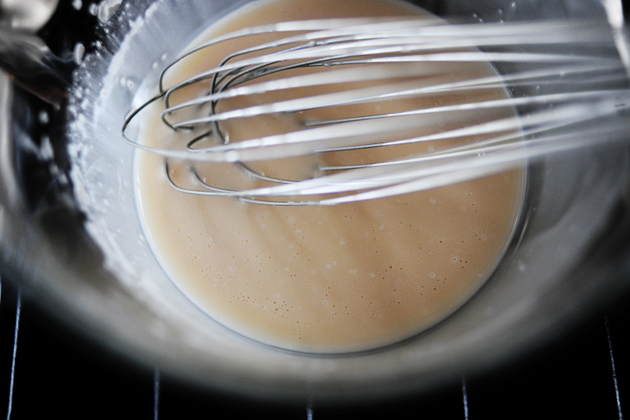
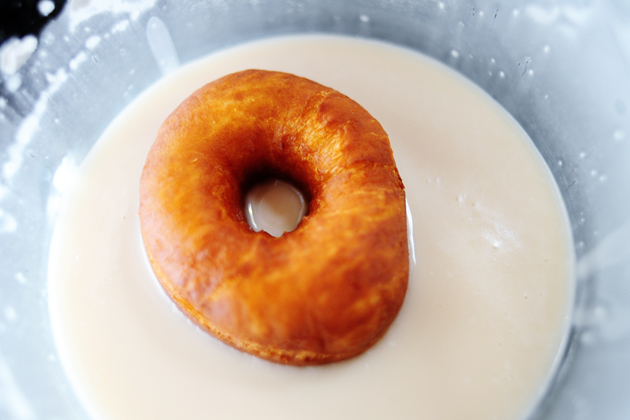
1. Mix all glaze ingredients in a bowl until completely smooth.
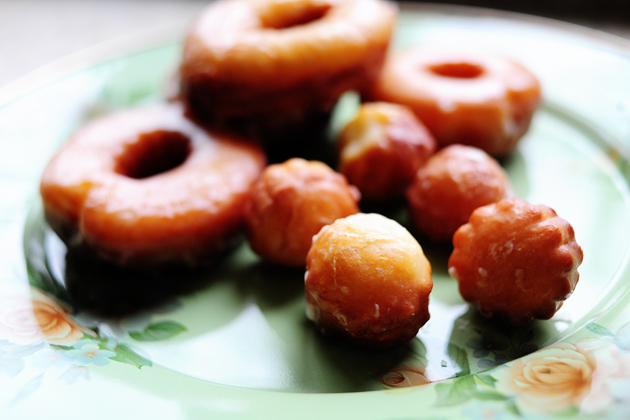
2. One by one, dip doughnuts into the glaze until halfway submerged. (Note: completely submerge doughnut holes, then remove with slotted spoon.)
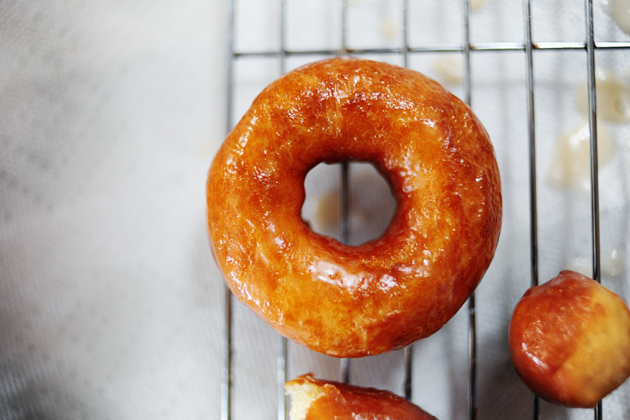
4. Remove from glaze, then turn right side up on a cooling rack over a cookie sheet (to catch dripping glaze.)
5. Serve warm if possible, or room temperature.
Source: thepioneerwoman.com
1. Make sure milk is nice and warm, but not overly hot.
2. Add sugar to milk. Stir to dissolve.
3. Add yeast into a small bowl.
4. Pour milk/sugar mixture over yeast. Stir gently, then let sit for 10 minutes.
5. Melt butter in separate bowl until butter is almost melted. Stir to finish melting so butter won't be overly hot.
6. Add beaten eggs to melted butter, stirring constantly to make sure the butter's not too hot for the eggs.
7. Add the egg/butter mixture to the bowl of an electric mixer fitted with the dough hook.
8. With the mixer on 3 or medium-low speed, pour in the yeast mixture.
9. Allow the dough hook to stir this mixture for a couple of minutes, making sure it's thoroughly combined.
10. With the mixer still going, add helpings of the flour mixture in 1/4 to 1/2 cup increments until all the flour is gone.
11. Stop the mixer, scrape the bowl, then turn the mixer on the same speed for five whole minutes.
12. After five minutes, stop the mixer and scrape the bottom of the bowl.
13. Turn on the mixer for 30 seconds.
14. Turn off the mixer and allow the dough to sit in the bowl undisturbed for 10 minutes.
15. After 10 minutes, transfer dough to a lightly oiled bowl. Toss the dough to coat, then cover the bowl with plastic wrap and place straight in the fridge.
16. Refrigerate dough for at least 8 hours, or overnight.
To Make the Doughnuts:
1. Remove bowl from fridge and turn out dough onto a lightly floured surface.
2. Roll out to 1/4 to 1/3-inch thickness.
3. Using a 3-inch cutter, cut as many rounds as you can, then roll out remaining dough and cut as much as you can, etc.
4. Cut holes out of each round using a 1 1/2-inch cutter.
5. Place both doughnuts and holes on a floured baking sheet.
6. Cover with large tea towel and place in a warm place in your kitchen; my kitchen is very drafty, so I have to briefly warm the griddle, then turn it off and set the sheets on top to keep warm.
7. Allow doughnuts to rise undisturbed for at least 1 hour; 1 hour 15 minutes if necessary. Doughuts should be visibly puffier and appear to be airy.
To Fry the Dougnuts
1. Heat plenty of vegetable shortening in a large pot until the temperature reaches 375 to 380 degrees---do not let it get hotter than 380 degrees! 375 is ideal; keep the thermometer in the pan to continually monitor.
2. One to two at a time, gently grab doughnuts and ease them into the hot oil. Allow them to cook 1 minute on each side; they will brown very quickly.
3. Remove doughnuts from the oil with a slotted spoon, allowing all oil to drip off.
4. Place doughnut immediately on several layers of paper towels. Count to five, then flip it over onto a clean part of the paper towels. Count to five, then flip it over again; the purpose, obviously, is to drain as much grease as possible before it soaks into the doughnut.
5. Repeat with remaining doughnuts and holes. The holes will cook more quickly than the doughnuts; about 30 seconds per side.
6. Allow doughnuts to slightly cool.
To Glaze
1. Mix all glaze ingredients in a bowl until completely smooth.
2. One by one, dip doughnuts into the glaze until halfway submerged. (Note: completely submerge doughnut holes, then remove with slotted spoon.)
4. Remove from glaze, then turn right side up on a cooling rack over a cookie sheet (to catch dripping glaze.)
5. Serve warm if possible, or room temperature.
Source: thepioneerwoman.com
No comments:
Post a Comment